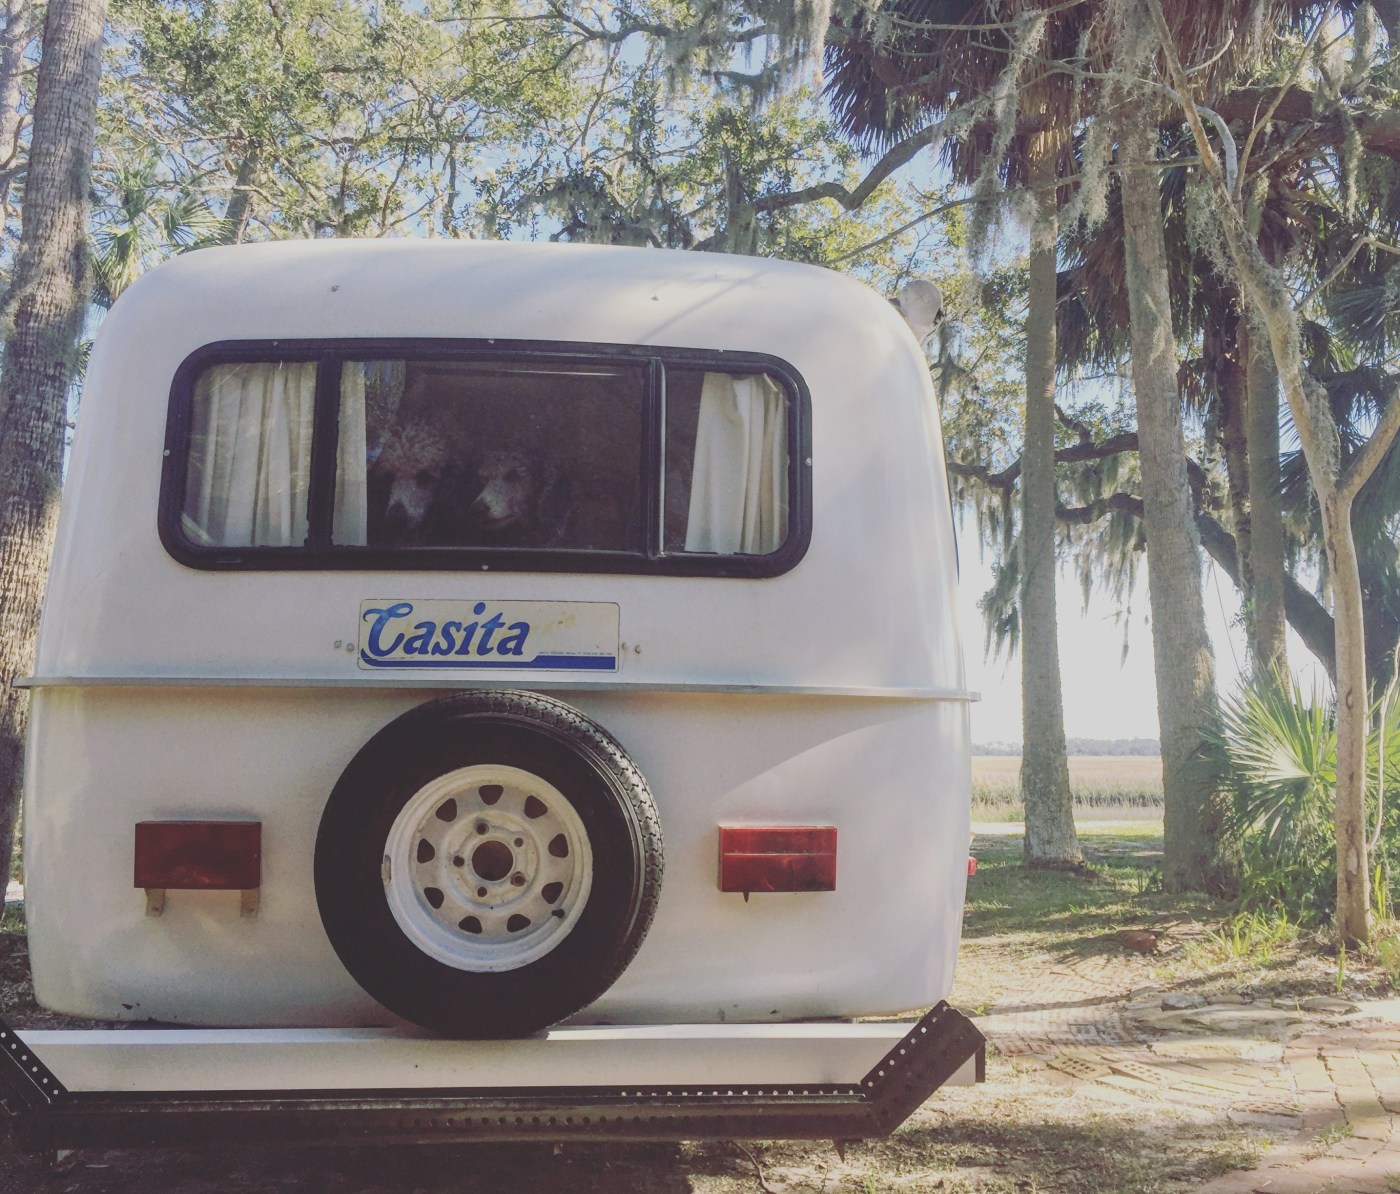
 As you may know, I recently purchased a ’91 Casita. I had a lot of initial anxiety about purchasing such an old camper, fearing a lot of things might start to go wrong. Well, things could still go wrong but I’ve realized these little campers are really well made and for a camper that’s nearly as old as I am, she’s in pretty good shape.
The Exterior
On the outside of the camper, she’s showing the most age in her fixtures. The biggest concerns were the city water intake, which I discovered was completely broken and would need replacing, an exterior light that didn’t work, and the awning which I couldn’t even figure out how to open. We also discovered that the “brand new” tires that came with the camper were dry rotted, so new tires were in order. The jack, while functional, is wobbly and difficult to crank so we will be replacing that.
I eventually figured out how to take the awning out… turns out the curtain rod in the bedroom area is the hook for the awning. Once I got it pulled out, I realized that while the canvas and most parts are in really good shape, a couple of things needed some work. One of the “leg” adjustments appeared to be stripped and wouldn’t tighten. In an attempt to set it up and lock it into the brackets on the sides of the trailer, one of the brackets broke. A call to PNL Motorhomes set their research team on a quest to locate the parts I’d need to repair these two malfunctions – I can’t say enough about how awesome their customer service has been.


The Interior
I didn’t realize it at the time of purchase, but the interior of this thing was nasty. The carpet on the walls (which serves the purpose of insulation and noise reduction) had a layer of grime and the insides of the cabinets had what looked like mouse droppings all in them. A good cleaning was in order.
The cabinets were the original faux wood look particle board cabinets with all the original ’91 hardware. Some of the cabinets were in pretty bad shape. All of the hardware was rusted and stripped, with a lot of corrosion on some pieces.

The previous owner for some reason replaced the factory side dinette with something he built himself. This is probably my least favorite thing about the entire camper. He put in a hideous table that wasn’t properly centered and jutted out into the aisle. The table was also not the correct width to fit down between the two seats for conversion to a bed. This made the entire side dinette dysfunctional in my opinion.
While it’s really just aesthetics, I also wanted to get rid of the ugly, dingy factory curtains and replace them with something colorful and cozy. The final project will be replacing the current vinyl flooring with something new in a nicer color, which I think will increase water resistance and really make the colors in the other decor pop.
The Plan
After getting new tires so she was safe to haul, I towed the Casita to my aunt and uncle’s house in Yulee, FL. They’ve restored campers in the past and I figured I could really use their knowledge to make some of these updates and repairs. Plus, there’s a lot more access to places to buy supplies there than either Franklin, where I live, or Denton, where my dad lives and the camper had been parked since purchase. This was my first time towing her with my truck, and while I was pretty nervous about it everything went smoothly. I’m towing with a 2010 Ford Explorer SportTrac. I can feel the trailer back there, but the truck doesn’t seem to have any trouble with it.
Step 1: The Cabinets


My first trip down my aunt and I chose to focus on the cabinets, a major eyesore to me. We decided to paint the cabinets and had planned to save and reuse the hardware. However, once we started removing it we decided it wasn’t salvageable and opted to buy new cabinet hardware instead. Once all the cabinets were removed, we headed to Lowes for paint and supplies. I settled on a very light grey called “glacier” in Valspar Cabinet Enamel for the cabinets, and black hardware. Since we were working with the stock Casita cabinets, we used a primer to prepare the surface for paint.

The cabinets turned out to be a major chore. Painting them went well, but getting them on and off was kind of a nightmare. All the old screws were rusted and stripped and several had to be drilled out. Then, the new hardware didn’t align perfectly with the old, so we had to drill new holes… AND that meant the closures didn’t line up either. For now, I’ve solved the closure problem by removing the old ones and putting heavy duty Velcro to hold the cabinet doors shut. I didn’t want to do any more drilling especially in the fiberglass, so I’m going to wait and see if I come up with some brilliant solution.
All the cabinet doors, the bathroom and closet door were pulled off, primed, then painted. Due to the primer we were satisfied with the coverage of one coat of paint for most of the doors. The bathroom and closet doors received two coats. We used a high density foam roller to apply the paint to avoid streaks. This worked pretty well combined with the “streak resistant” cabinet paint we were using. We originally left the overhead cabinet body above the side dinette and the divider “wall” between the dinette and the bed as they were, but later we would decide to go ahead and paint these as well.

Step 2: The Table

As I mentioned, the table was one of my least favorite things about the camper. The previous owner apparently decided at some point that it was a good idea to remove the factory dinette and replace it with something homemade. I can’t imagine what inspired this decision but I did not like it one bit. The table he installed did not fit the gap between the dinette seats, causing this area to not be functional as a bed the way it was intended to be used. I’m assuming he may never have converted it, but I’m planning to use this space as a sleeping area for my two dogs. I needed it to be functional.

My aunt and I threw a few ideas around and ultimately decided to purchase a piece of fiberboard and cut it to fit the empty space between the dinette seats. We also bought a piece of angled aluminum to create a small “shelf” for the table top to drop into. This would enable this space to serve as either a dinette or a bed.
Step 3: The Walls
The final project of this weekend trip was a hardcore scrubbing of the marine headliner carpet on the walls. I didn’t realize it, but it was really really dirty. Using some miracle cleaning solution my aunt whipped up, she and I spent several hours just scrubbing away 25 years of dirt and grime from the carpet (and other surfaces). In the end, I was amazed at how much brighter the camper looked after a good cleaning and with the new cabinets installed.
This pretty much concluded our first weekend of work. I made plans to return the following weekend and pick up where we left off. Check back soon to see what part two involved!

Leave a comment